Hi everyone,
I've an PO ICAD to share with you today and it's pretty much self explanatory why it's called New York.....
For perfume aficionados you might recognise where my cityscape came from. Originally it was a DKNY perfume sample. I'm a Jo Malone kind of gal myself but when I was given the sample recently I knew exactly what I wanted it for.
My background is a blend of Vintage Photo & Iced Spruce Distress Ink flicked with water droplets. I blended a little Walnut Stain Distress Ink around the outside edges to create a subtle border.
I used the same colours of DI to colour my New York cityscape but this time I used the wrinkle free technique, smoothing the cityscape through the puddle of inks on my craft mat until I had the look I wanted. After gluing it to the background I went round the edge with a Faber Castel Artist Big Brush Pitt pen in cold grey to create some shadow. The windows were created using a black pigment pen.
Finally a touch of Ranger washi tape & Remnant Rubs for interest and my ICAD was complete.
A fun and simple ICAD. Hope you like it?
Happy crafting,
Carol. xx
Hi everyone,
still playing catch up (again!) with my posts. Today is another journal page and a France challenge piece (Week 34. Theme - Perfect Day).
I decided to follow the theme by including on my journal page all or at least some of the things that would help make up my perfect day. To start with books... for me no day would be complete without a little reading or at least looking at vintage books or novels. So to get texture on my page I wove some vintage book pages together.......
I love fauna and flora. For me spending a day out in the garden or countryside is bliss, especially if the sun is shinning. So to symbolise this I added some random piece of Ranger botanical washi tape (and a little masking tape for good measure).
No day would be complete for me without a little crafting so this was symbolised by the wash of black & quit. gold acrylic paint and then a scrapping of white gesso. Plus a few more pieces of torn vintage book page (you can't have too many books, now can you)
Apart from crafting I love all things embroidery. Whether it's machine stitching, embroidery, silks, threads, fabrics or beads, I love it all. So there had to be a wee element of this on my spread.
First it was a little machine stitchery around the edges.........
then to secure a lovely piece of lace from my stash.
For my focal element I added a Ranger Alphabet Transparency Tile, warping slightly with a heat gun. My letter of choice was M, the initial of my special someone. Next was a Ranger Mini Plaquette on, coloured with a Titan Buff and a number 13 Remnant Rub. Whilst unlucky for some this is the date on which I met, got engaged and then married my special someone, so it's a special number for me.
Finally no day would be perfect for me if it didn't include snuggling down with a glass of wine, my special someone close and a good film, hence the Ranger filmstrip holding my sentiment in place. (Hmm, should have included some red splatters to symbolise the wine perhaps...lol)
This really was a fun page to pull together and whilst I could have gone on and on trying to symbolise what else could be included in my Perfect Day, I actually was happy stopping here. It covered my best elements I think.
Thank you as always for stopping by and letting me share a bit of craftiness with you today.
Happy crafting,
Carol. xx
Hi everyone,
I'm determined this week to get up to date with my posts having been AWOL for the last month! Sorry about that.
Ok, here we go. I'm going to share with you another one of my France Papillon ALAD/ASAW weekly challenge pieces. For those of you who haven't seen the challenge ALAD/ASAW is short for A Layer A Day/ A Spread A Week. Take a look at France's blog because it is packed with inspiration. Her design team (Butterfly squad) are awesome and sooo supportive of the rank and file, like me, taking part in the weekly challenge. I have learnt so much taking part over the last weeks.
Here's my finished art journal page.....
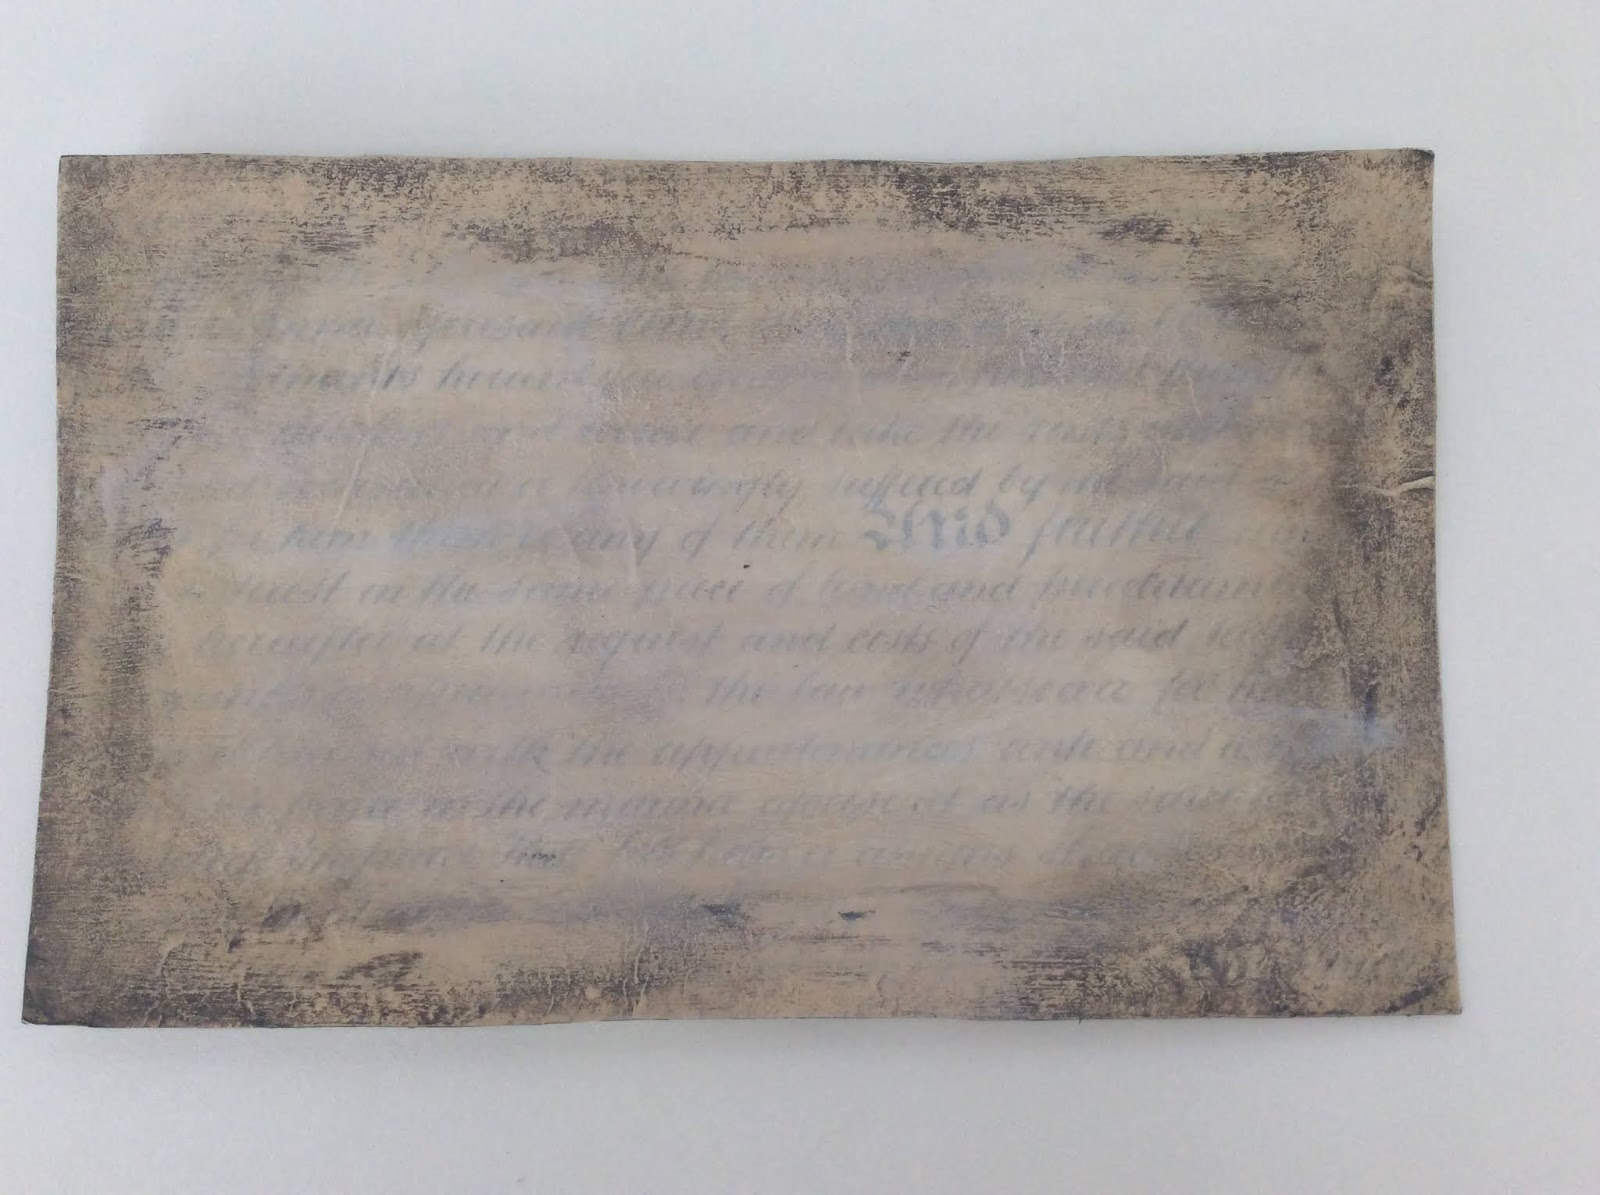
Going through the process; to start I covered my page with some gorgeous vintage indenture paper, which I coated with clear gesso because the paper had a waxy surface. Next came a layer of Titan Buff acrylic paint. I removed some the paint with a damp baby wipe, so the indenture paper would show through in places.
Next I went over the top with a little Payne's Grey acrylic paint, using my fingers to catch the texture and tooth of the clear gesso and previous layer of paint. Have to say I hated what I ended up with but persevered.
My next layer was texture. Ferro texture paste (graphite grey) through an AB stencil......
Using Vintage Photo Distress Ink I added a little stamping using an Viva Las Vegastamp and also edged my page with Black Soot Distress Ink which I sprinkled with clear embossing powder and heat embossed.......
I adore adding stitchery to my pieces and today was no exception. This page seemed to be developing a grungy feel to it so messy stitching was the order of the day, but I wanted to do away with the smooth, albeit now distressed, edges so I added a piece of torn pre-rusted fabric behind to soften it a little.
The fabric I used was a piece that I rusted earlier this summer. This was my first attempt at rusting fabric and I was over the moon at how it turned out. I luuuuved the end result so much it seemed almost sacrilege to chop it up and not have the gorgeous colours on show. So I decided to use one little section on the front....
and make it into my focal point. I sewed on a couple of hooks and eyes with black thread to accentuate the impression left by the rusted washers on the fabric.
Next I tore a piece of vellum, slightly larger than my piece of fabric and inked the rough edges with Vintage Photo DI. Then I tore a piece of the indenture paper into a rough rectangle slightly larger than the vellum and again inked the edges with Vintage Photo DI.
All three were layered on top of each other before being popped onto the background. As you can see in the next photo, I also sandwiched a tangle of black thread between the background and the focal thingumajig
Although my spread was almost done it didn't seem quite finished for some reason.... So I added a couple of press studs to tie in with the sewing theme the spread seemed to have developed.
Nope, still not done ..... What I decided it needed was a pop of colour. I made a tiny heart, coloured it with SU markers and glazed it with a coat of Glossy Accents. With that, I realised it was the little things, whether in life or in art, that make things work. So that became my sentiment and Yea! Now I was happy.
Thank you for joining me and reading my post. Hope you liked this journal page. In the end I was pleased with how it turned out.
Thank you for letting me share it with you.
Happy crafting....
Carol. xx
Hi everyone,
I think I need to give a huge apology for not having posted for a month! I actually didn't think it had been that long. Lawd, how time flies.
I've still been crafting away doing my France Papillon weekly challenge art journal spreads and also my own personal PO ICAD challenge, although I have to admit that now I'm much more active the latter have slowed down. I also took part in at the bi-monthly heART Swap which had Beautiful Blooms as the theme this time. Apart from making three post card swaps I also made an extra one, scaled down to index card size, to include in my PO ICAD collection.
These are my heART swap cards...........
I was totally thrilled at the lovely comments I received for these very simple cards, although I did feel a cheat because they were so simple. I was asked to share the process I used to create the cards so now you can see just how simple they were to make. It's actually the image which makes these cards.
Firstly I used a plain white piece of 250g card for each card, cut to postcard size. Using Ranger Peeled Paint & Wild Honey Distress Inks I used the wrinkle free technique to create a background. If you're not familiar with this technique there are a million and one videos on YouTube showing how to do it. Basically it entails rubbing ink from the pad onto a craft sheet, spritzing with a little water so the ink separates to form droplets then swooshing or swiping your card through the ink. You can either let the ink blend on the surface of the card and gently manipulate it by tilting the card back and forth or spritz with a little more water and let the water do the job for you..... then heat dry with a heat tool.
Once my background was dry I splatters a few drops of plain water onto the surface, waited a few seconds then dabbed it off with a dry towel. The ink is water reactive even when dry so the effect is to create light splatters across the background. The more water you use, the more splatters.
The final touch on the background was to machine the edges with black thread.
The focal image was a picture from the internet which I printed onto tissue paper, then backed onto more of the same white card with Ranger matt medium glue. The glue helps to blend the tissue paper into the card and also seals the image. Again I machine stitched around the edges of the card.
Finally before mounting the image onto my background I added a layer of torn vellum. Normally I ink the torn edges if I tear vellum but I wanted to keep these cards looking fairly light so left them un-inked this time...... And that's it. Very easy & very simple.
Happy crafting
Carol. xx
Hi everyone,
are you like me and find it hard to consign some left overs to the bin just in case they come in for another project or because they are just too darn gorgeous?
Today's PO ICAD is one of those pieces.... it was a practise piece from when I was experimenting with alcohol inks on glossy paper. I have to own up that alcohol inks have never been a favourite medium for me and I'm also not a great lover of glossy paper.... I'm a matt kinda gal. That being said it's testament enough to how much I like this background, certainly enough to keep it from being consigned to the bin!
For today's ICAD I wanted to work with watercolours, so I coated the glossy alcohol ink background with some clear gesso. I was delighted with the matt effect it gave in addition to providing some 'tooth' on the paper. Now that was a happy find.
For texture I added opaque crackle texture paste through TCW mini boulders stencil and let it air dry. Next came drippage in the form of Spiced Marmalade Distress Stain and much drying time. Rather than buffing it off the opaque crackle paste I left the stain coating the paste to tone it down from it's original stark white.
Finally, I went around the outside of each circle firstly with a charcoal pencil activated with a little water and then with watercolour pencils.
This was my first outing of TCW mini boulders stencil in my stash and a happy first finding out that I could use clear gesso to give a matt finish to gloss paper whilst also providing enough tooth for it to take water reactive products... yea!!!
Happy crafting,
C xx
Hi everyone,
I've called today's ICAD foiled again because it's the second card I made today using Ranger Vintage foil sheets. The first one was going really well, that is, until I decided to add just a tad more foil and it became an unmitigated disaster!
But in the spirit of positivity I'll revise my language. That earlier card was a practise piece and this card.......
is my PO ICAD for today.... (Smile)
When I made my Burghley PO ICAD the background was created on a piece of card much larger than a basic index card, so I cut it down to size. This meant that I had enough left over to use as my background for today's ICAD.
Tim Holtz has a video on YouTube where he uses Ranger Sticky Embossing powder with Ranger Vintage foil sheets. Whilst I have the foil sheets I don't have the sticky embossing powder. But what I do have is a tub of Stampendous Stamp & Bond from eons ago when I use to play with flock powder. I dug it out this morning to give it a try and guess what? It worked perfectly.... basically it's the same stuff.
So using a Woodware grasses stamp I embossed my image using embossing ink, sprinkled with Stamp & Bond, blasted with a heat gun and swiped over my foil sheet ("ugly side down" as Tim says).
For the edges I replaced the embossing ink with Distress Ink (stormy sky) then sprinkled the Stamp & Bond and that worked perfectly too. I tend to forget that Distress ink has a 'window' before it dries which means it can double as embossing ink too.
For the card edge I used a couple of foil sheets in different colours... a warm gentle rose gold and deeper coppery tone. They work beautifully together. I really liked the effect.
As a final touch, I went round my flower adding a little shadow with a Faber Castell Artist Big Brush Pitt marker in warm grey. I also used it around the outside edges. I applied it more extensively at the bottom of the card to draw the eye down and accentuate the foiling in the two bottom corners.
I like this new technique and can see it being used on my journal pages in the future..... I'm learning so much with this PO ICAD challenge. It's great (smile)
Happy crafting
C xx
Hi everyone,
I love, love, love today's PO ICAD. Just take a look .....
And it really does show that sometimes things don't have to be perfect to be loved. You'll see what I mean in a moment.
If you read yesterday's post, you'll know that I had a puddle of ink left over on my craft sheet from yesterday's PO ICAD: Distress Glaze resist. Not wanting to waste it, I mopped it up on another index card in readiness for today and having enjoyed using the Distress Glaze so much, I wanted to try it through another Ranger Mini Layering Stencil (set 21).
This time I went in a little more heavy handed with the glaze. Actually too much so, because when I took the stencil off my background I could clearly see it was too thick. This left me with a dilemma; do nothing and see if it would work or wipe the Distress Glaze off and risk smudging the outline I'd created by applying it through the stencil.
Coffee always helps the thought processes ( well, it does for me!) so I headed off to make a coffee and ponder. By the time I returned, coffee in hand, I'd decided to do nothing and see what happened.
Ideally I would have created my trees with some Pickeet Fence Distress Stain applied through the stencil. But as I'd run out of that a while ago I reached for the next best thing, Dylusions White Linen spray. It gave me the effect I wanted for the trees but 'snow' on the Distress Glaze. This wasn't quite what I had in mind. I wanted the vibrancy of the coloured background to show through the now muted trees. I certainly hadn't intended the wintery scene I had accidentally created.
Trying to wipe the spray off the background with a damp baby wipe, how ever gently done, would only reactivated the spray and 'chalk' the background and whilst this wasn't an unpleasing effect it still wasn't what I had in mind. So I decided to leave it alone and have the illusion of snow falling between my trees. Not perfect but I was happy with it.
My sentiment is a favourite quote of mine that I computer generated and coloured with Fossilised Amber and Peeled Paint Distress inks. Adding a few water splatters here and there to mimic the snow.
The more I look at this PO ICAD the more I like it...... hope you do too.
Happy crafting
C xx
Hi everyone,
I wanted to try out using Distress Glaze as a resist technique today. It's a product I've had for sometime but not really used (think there is a theme here....Hmmm!).
I set up my background using Fossilised Amber Distress Oxide (a favour go-to colour for me) through one of the mini layering stencils and then 'bumped' the stencil to one side and slightly down, revealing a small edge of the white, before applying the glaze very lightly with my index finger.
Then using the wrinkle free technique with Peeled Paint, Rusty Hinge, Dusty Concord Distress Ink and Forest Moss Distress Stain as my background colours, I swooshed the index card through the puddle of inks...... gorgeous.
This is not a colour combo I've used before but I loved the effect.....
Because the stencil is quite small and intricate and I was anxious not to use too much glaze it didn't work too well all over the card but has in places here and there. I also got a bit carried away with spritzing water to my puddles of colour towards the bottom of the card which left some watermarks when I blasted it with the heat gun..... I'm ok with that, as it all adds to the effect.
Out came the Stampers Anonymous Bird Crazy stamp for a focal point. This wee chap was stamped on my background in Archival Potting Soil and then again on a scrap piece of card. He was coloured using some of the ink that was left over on my craft sheet. So too was the Snarky Work sticker that I chose for my sentiment (cheeky, isn't it.)
I added a touch of Glossy Accents to his eyes and edged the card with Faber Castell Artist Big Brush Pitt marker in cold grey.
Hmmmm, now what to do with that left over ink on my craft sheet?
Happy crafting,
C xx
Hi everyone,
I've had the most amazing time marbling paper this morning and with shaving cream of all things.
YouTube is an amazing resource and I could spend half my life just watching the crafting videos and tutorials, if I didn't exercise a modicum of discipline. But sometimes I come across something that is really fascinating and marbling paper using shaving cream seemed unreal that I've been champing at the bit to give it a try. All I needed was to get my hands on some shaving cream as any self confessed crafter will have all the other necessary bits and bobs stashed away and I was no exception.
Todays index card was made using a tiny scrap of mop-up cardstock after a healthy session spraying, drizzling, squirting and manipulating ink laden shaving foam around a baking tray.... heaps of fun.
Bit of a cheat ICAD in that I just stamped onto my scrap of marbled card but I really didn't want to cover up the gorgeous swirls of colour.
And in case you hadn't guessed already my something new today was....... marbling! Definitely going to revisit this technique.
Happy crafting
C xx
Hi everyone,
I wasn't quite sure what I was going to try today for my PO ICAD but I did want to try doing some intuitive work and to see where it took me...... doesn't sound hard, does it? It might not be for you but I find it really difficult.
Here is today's index card........
I randomly stamped four circles, coloured these using my Intense Ink Blocks and then set too adding Remnat Rubs and Pebeo silver leaf to my hearts content. I think I got a little carried away with the Pebeo but you live and learn.
Happy crafting
C xx