Translate

Showing posts with label Organisation. Show all posts

Tuesday, 28 February 2017

Tag Storage (Part 2)

Hi everyone,

I posted a blog a little while back about the tag wardrobe I made for my 2016 tags? I mentioned that I would be making another for my 2017 tags and here it is .....
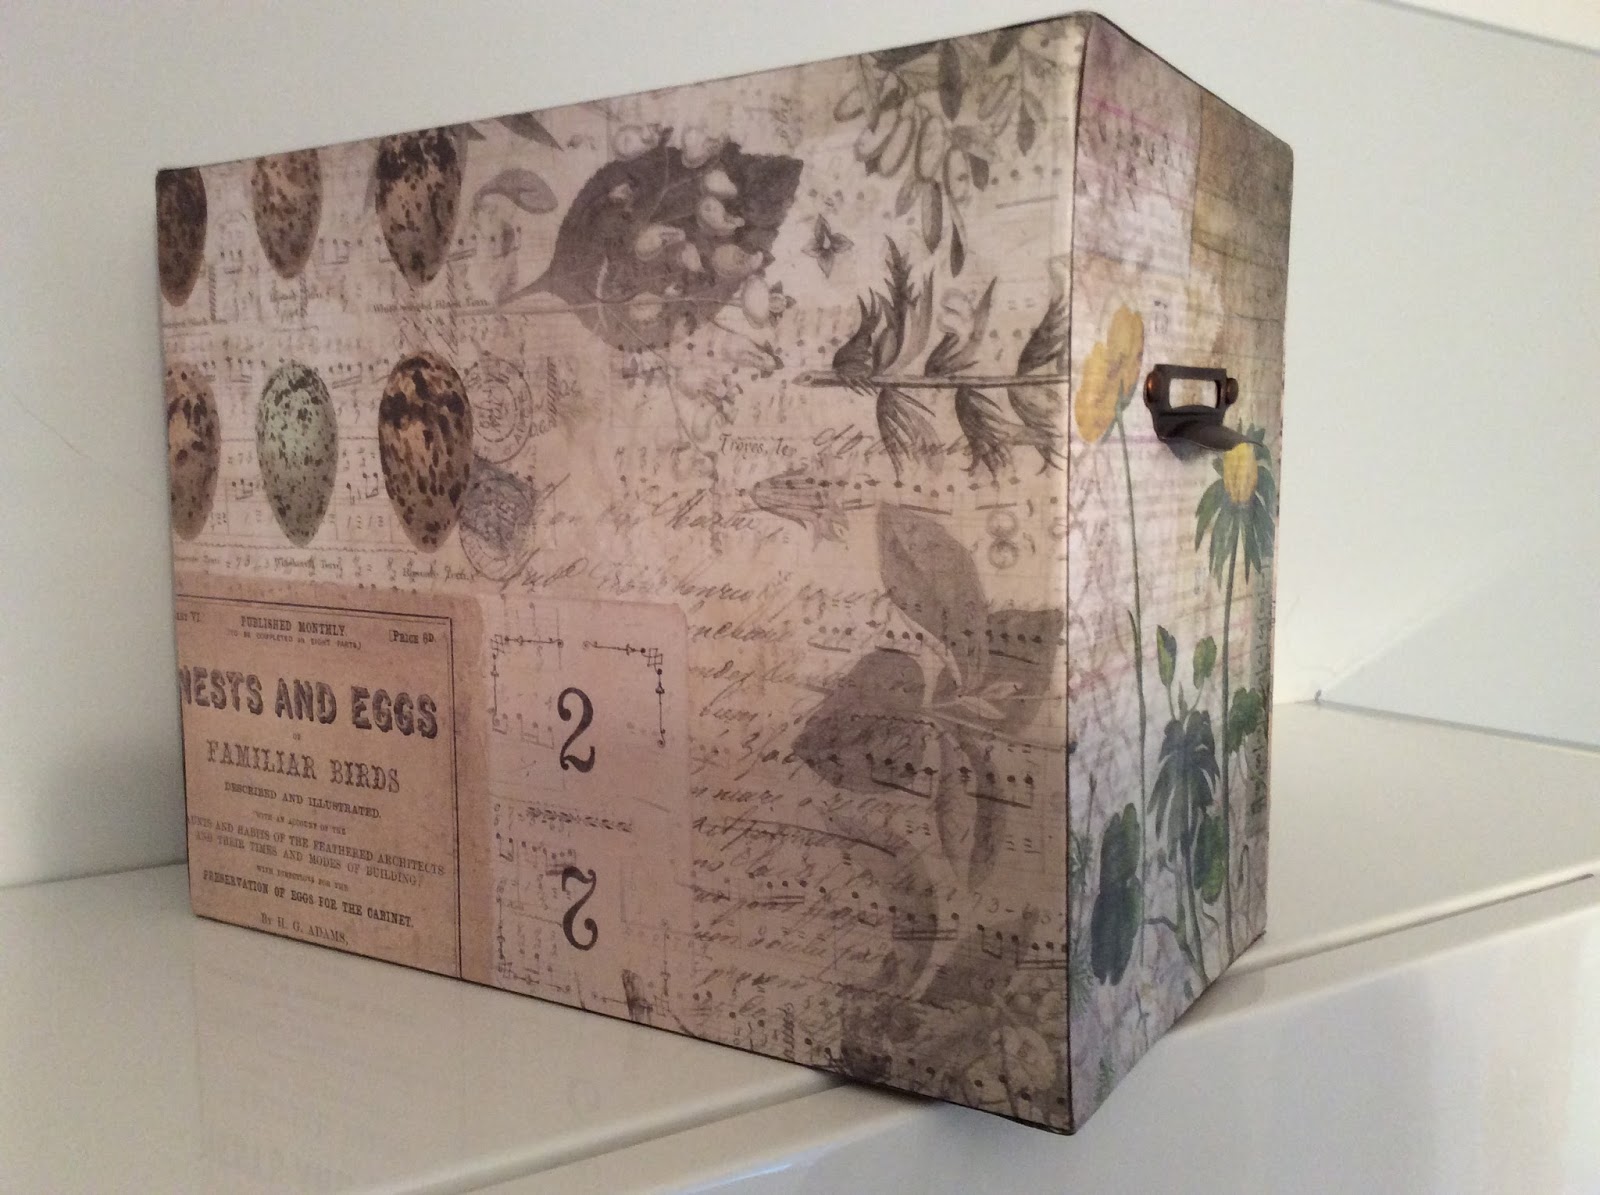

It's exactly the same design as the previous one; same fastenings, handle and TH Botanicals paper, so I won't go into detail again here other than to show a couple of pictures of the construction which I didn't show in my earlier post.


Here it is along side my earlier wardrobe.  I reinforced all the seams with black card and double sided tape and punched holes in one side for the handle and again on the front and top for my closure. When the box is covered the brads for these will be hidden.


Side view.... and a little helping hand from my inquisitive cat. Well, it is a box and he has to be in any box he sees! It's just the closure is a tad difficult to manage.


Another side view.....


Top .....


And lastly, my two boxes sitting side by side on my craft cupboards..... now only the labels to do.

Bye for now everyone.  Happy crafting...


Carol, xx

Ink Swatches

Hi everyone,

I've had a list of my paints, stains and inks in my phone for years now, but generally I know what I have when it comes to adding to my collection.  And like most crafters I also have swatch books. These are soooooo  handy for deciding exactly what colour to use without having to trial the colour first or relying on the label which invariably isn't a true colour match.  

Whilst I have swatch books for my paints and stains, making one for my inks has been on my to-do list for as long as I can remember..... well, that was until I came across a nifty little clear photopolymer stamp made by Inkylicious.  It's called  an Ink Pad ID Reference Stamp and it's made specifically for the purpose. 


As you can see it has four sections: fine text at the top, a block colour design in the second, fine design in the third and finally block or solid colour in the last.  Enough detail to give the my inks a good work out, but I can see it coming in useful for my embossing powders and perhaps my stains and paints too, when my existing swatch books get worn out. 

I know some crafters like to carry around their swatch books and this stamp is small enough so that a swatch book made with it can be easily popped into a pocket or bag.  The stamped image size is approx. 9cm. H x 4.5cm. W

Here's my ink swatch book..... 

LOOOOVE all those gorgeous colours....inspiration enough to play!

My tag size is 5.5cm. W x 11.5cm. H. Obviously you can have any size you choose but I wanted my swatch book to be as small and compact as I could get it. ... Hmm that didn't quite happen!

Because my handwriting isn't the neatest I printed the colour names of my ink pads into a template which I created on my laptop. (Font: Merry Cables. Font size: 11pt).

Next I printed the template onto  300gsm white card and then cut each tag to size along the grid lines using a Friskars guillotine.

Out came every ink pad from my cupboard and using the Ikylicious ID reference stamp and my Misti, I systematically stamped the image onto the corresponding tag for that coloured ink pad.

300gsm card doesn't really need reinforcing but I created reinforcement rings to go on both sides at the top of each tag. I had intended to add a book ring to bunch all the tags together but found I didn't have a big enough one in my stash, so for now I used some rounded ribbon cord to keep them all together.  The final touch was a couple of sheets of acetate cut to size to form the back and front covers of my swatch book to help keep it clean.


This really was a good exercise to do (apart from appeasing my OCD bent) because it actually made me realise just how many ink pads I have and surprisingly, what my favourite colour is.  I only had to look at the number of green swatches I made to realise! Apart from that, it gave me the opportunity to give my pads a little TLC and re-ink them along the way (I always buy a re-ink in the same colour when I buy a new ink pad). 

Another tick for my to do list.  Now on to the next on the list,  sorting out my paper stash... This crafting is never ending lol.

Thanks for stopping by and happy crafting.


Carol, xx

Saturday, 25 February 2017

Distress Ink Blender Storage

I decided I wanted to sort out my Distress Ink blender pads today and this is what I came up with.


Using an small ring binder I cut several pieces of plain white cardstock and punched holes so they would sit nicely in the ring binder.  Then I marked up a grid for 12 blending pads per page on the cardstock leaving a small area underneath for a printed label to describe the colour the pad is used for.

Here you can see the grid without any pads in place
 but with the printed labels 

Next I cut acetate pages the same size as my cardstock pages and again punched holes so these would sit nicely inside the ring binder too.

With the acetate page in place over the cardstock page I positioned small pieces of velcro onto the acetate where I wanted the blending pads to sit, using the grid on the cardstock page below as my guide.

To make sure that the pads don't contaminate each other when they are held in place by the velcro, I made sure there was a spare acetate page in between the ones covered with velcro... Soooooo the sandwich inside the ring binder is: cardstock page with the grid printed on it, acetate page with velcro, plain acetate page, another acetate page with velcro and finally a cardstock page with a grid printed on it......hope that makes sense!

And these are my DIY blender tools

As much as I would like a Tim Holtz blender tool for each of my Distressed Inks  it would be a luxury.  I recently unmounted some of my wooden stamps so I decided to use some of the blocks.  There were some that were a perfect size, so I didn't even have to do any chopping, sawing  or sanding!  All it took was a small piece of the sticky backed velcro I had in my sewing stash ( I used it on the acetate pages too)  cut to size and stuck to the block.

I rather liked the caption one block so I left it unsanded.

Happy crafting

Carol. xx


Sunday, 19 February 2017

Tag Storage


Hi everyone,

thanks for stopping by... can you believe it, two posts in two days.  Seems I'm an all or nothing kind of gal!

Since I've been making tags I've had a dilemma about how to store them.  After they're made they sit in my craft room for awhile looking pretty but then I need to find a home for them because I run out of room.  For ages I've been hunting for THAT perfect box in which to hang them..... I decide this would be the best way to stop them getting crushed and I also wanted to be able to store them according to the year they were made.  OCD or what!

Not finding the 'right box' necessitated plan B..... aka making the box myself ......  et Voila!!!!


Side of the box with TH handle ready for my date label.


 TH Idea-ology used for my closure: 


Close up of the closure.....I don't do difficult!


Internal view ... In essence it's a tag wardrobe


For the bar I used a length of wire cut from a white coat hanger. I glued it inside a TH Idea-ology cog (perfect fit) and then glued that with Glossy Accents to the inside of my box.  The addition of the cog gave it more stability and saved the need to puncture the fabric of the box.


Some of my tags hanging in place. 

I back all my tags with black cardstock so I needed a little more clearance in the height of the box than for a size 8 manilla tags.


And this is what I use to hang my tags in their little wardrobe....coat hangers made from paper clips.  TH Idea-ology mini hangers are on the market but they are easy enough to make 


I thread the hanger up through the ribbon at the back of the tag as shown above.


A few more tags inside the wardrobe......


And some more..........


And yet more.... in all, my wardrobe holds 30 tags. Which is fortunate as that is exactly how many tags I made last year. If they were less dimensional more would go in but I prefer to give them plenty of room.


Right I'm off to make another tag wardrobe for my 2017 tags.... all go around here!

Thanks for stopping by and finding time to read my post.  Please feel free to leave a comment as I love to read them.

Happy crafting....

Carol. xx

Thursday, 9 July 2015

Dylusions Storage

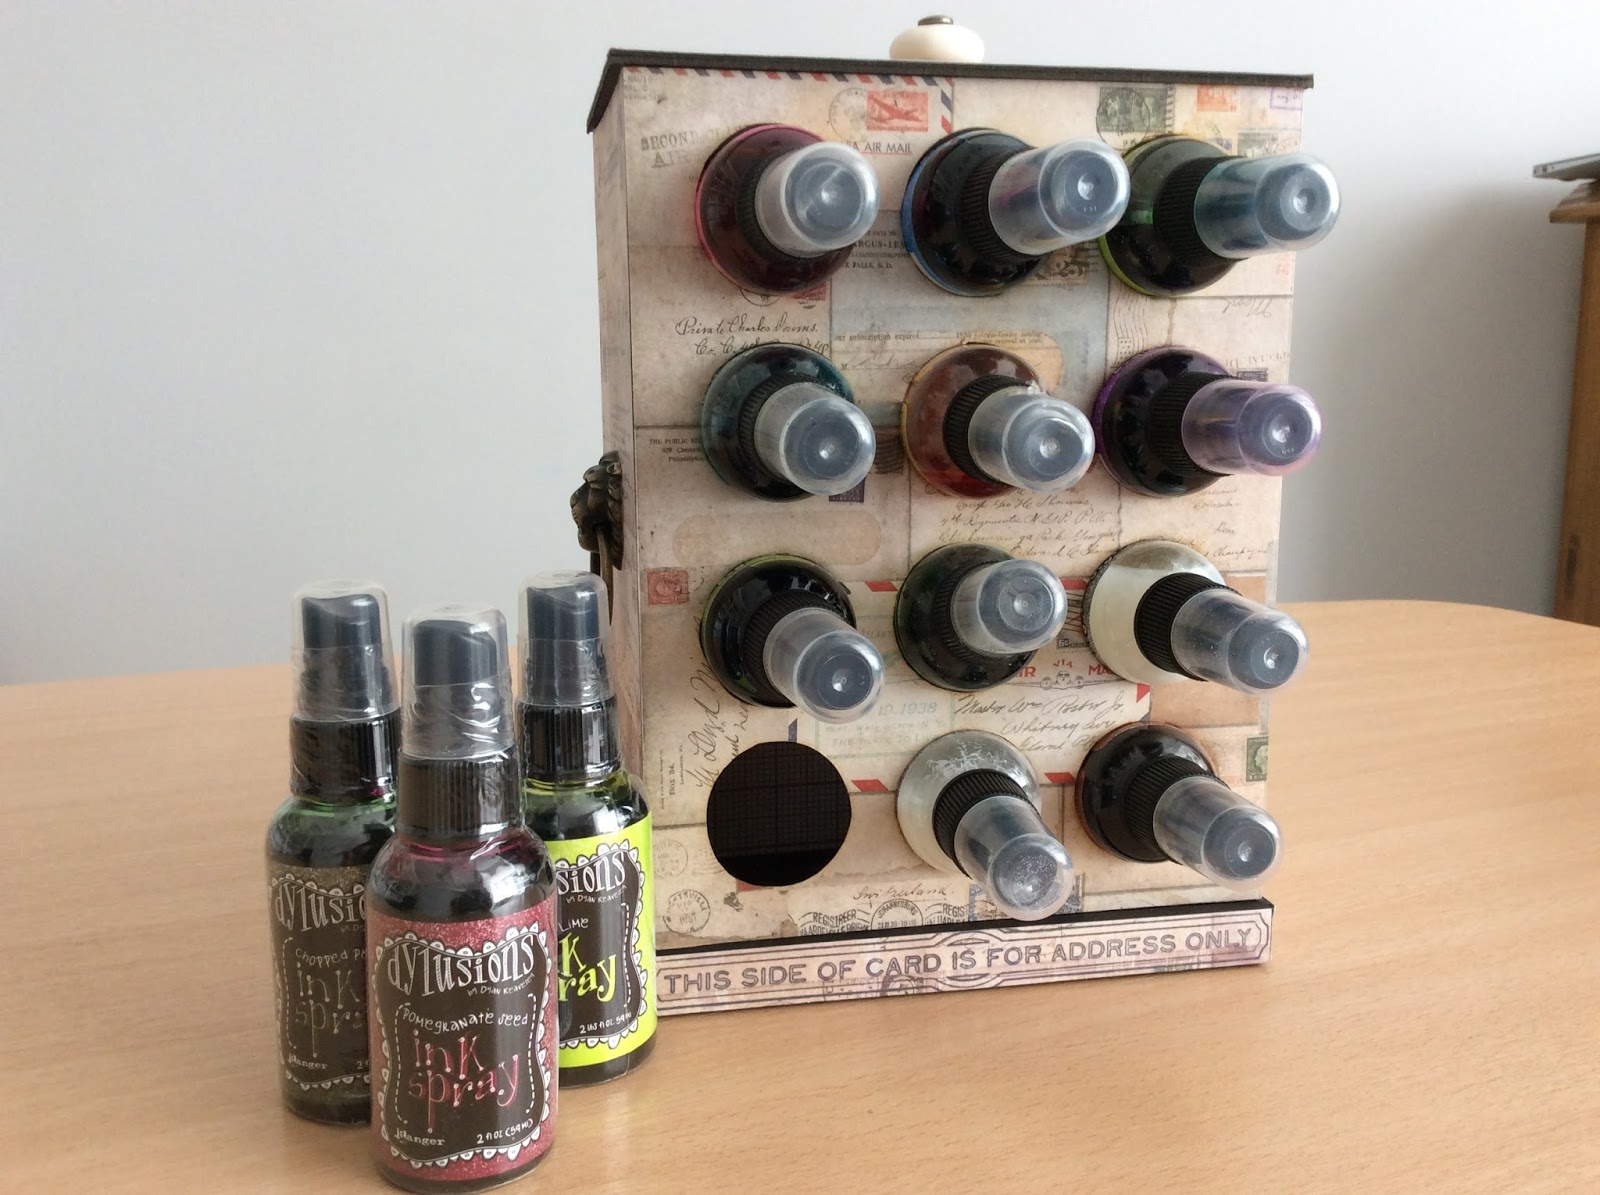
I posted recently that I'd been to a workshop with Jim Hankins, The Gentleman Crafter. Unfortunately though, I could only attend one of the four workshops Jim's was running that weekend.  One of the workshops I missed was to make this Dylusions storage unit.......
 Isn't it great!

I purchased a kit from the workshop and made it up at home following Jim's excellent illustrated instructions. Everything I needed was in the kit and, similar to the Archivist's Journal, there wasn't any shortage of extra goodies. 
This is the side view of the unit and as you can see it has a pair of lovely lion head handles (I think these are 7gypsies but might be wrong) and a gorgeous white ceramic handle on the top.
The paper range was by Ranger. Although the unit only takes three or four 12 x 12 pages the whole 12 x 12 pad was in the kit, so there was ample choice of papers to use on the unit with plenty (an understatement) left over.

The unit is double sided, so big enough to house 24 Dylusions spray bottles which fit perfectly.  You could also use the unit to store smaller distress stain or paint daubers but for Dylusions the fit is just right.

The piste de resistance is that the whole unit is mounted on a shallow base which houses a Lazy Susan, enabling the whole unit to swivel around in one smooth gliding motion for easy access to the bottles at both the front and the back.... hence the reason for the little ceramic knob on the top......ingenious!
And this is the view of the top of the unit.......

This little unit now sits proudly in my craft room and for anyone who knows me that is a feat in itself as I like to tuck all my crafting bits and bobs tidily out of sight and usually have very little cluttering up my workspace or units when I'm not 'playing'. Ooops I've given the game away about how OCD I am!      

Happy crafting everyone and thanks for stopping by......

Carol. xx