This is the third journal that I made recently... well it's actually a notebook. I wanted to turn my hand at classic book binding and when I saw this SU flock paper in black and beige I fell in love with it.... it just looks so rich and elegant and was perfect for what I had in mind.

First, I cut two covers from thick cardboard from my stash and covered them with the SU flock paper, leaving a good 3/8ths to over lap to the inside. Then I secured wide, cream taffeta ribbon to the left hand-side of the front cover, again overlapping it to the inside. On top of that I placed a piece of black lace secured with red double sided tape along the spine edge so that it would be hidden by the spine covering. The tape hardly shows through from behind the lace but I didn't want it to spoil the finish.
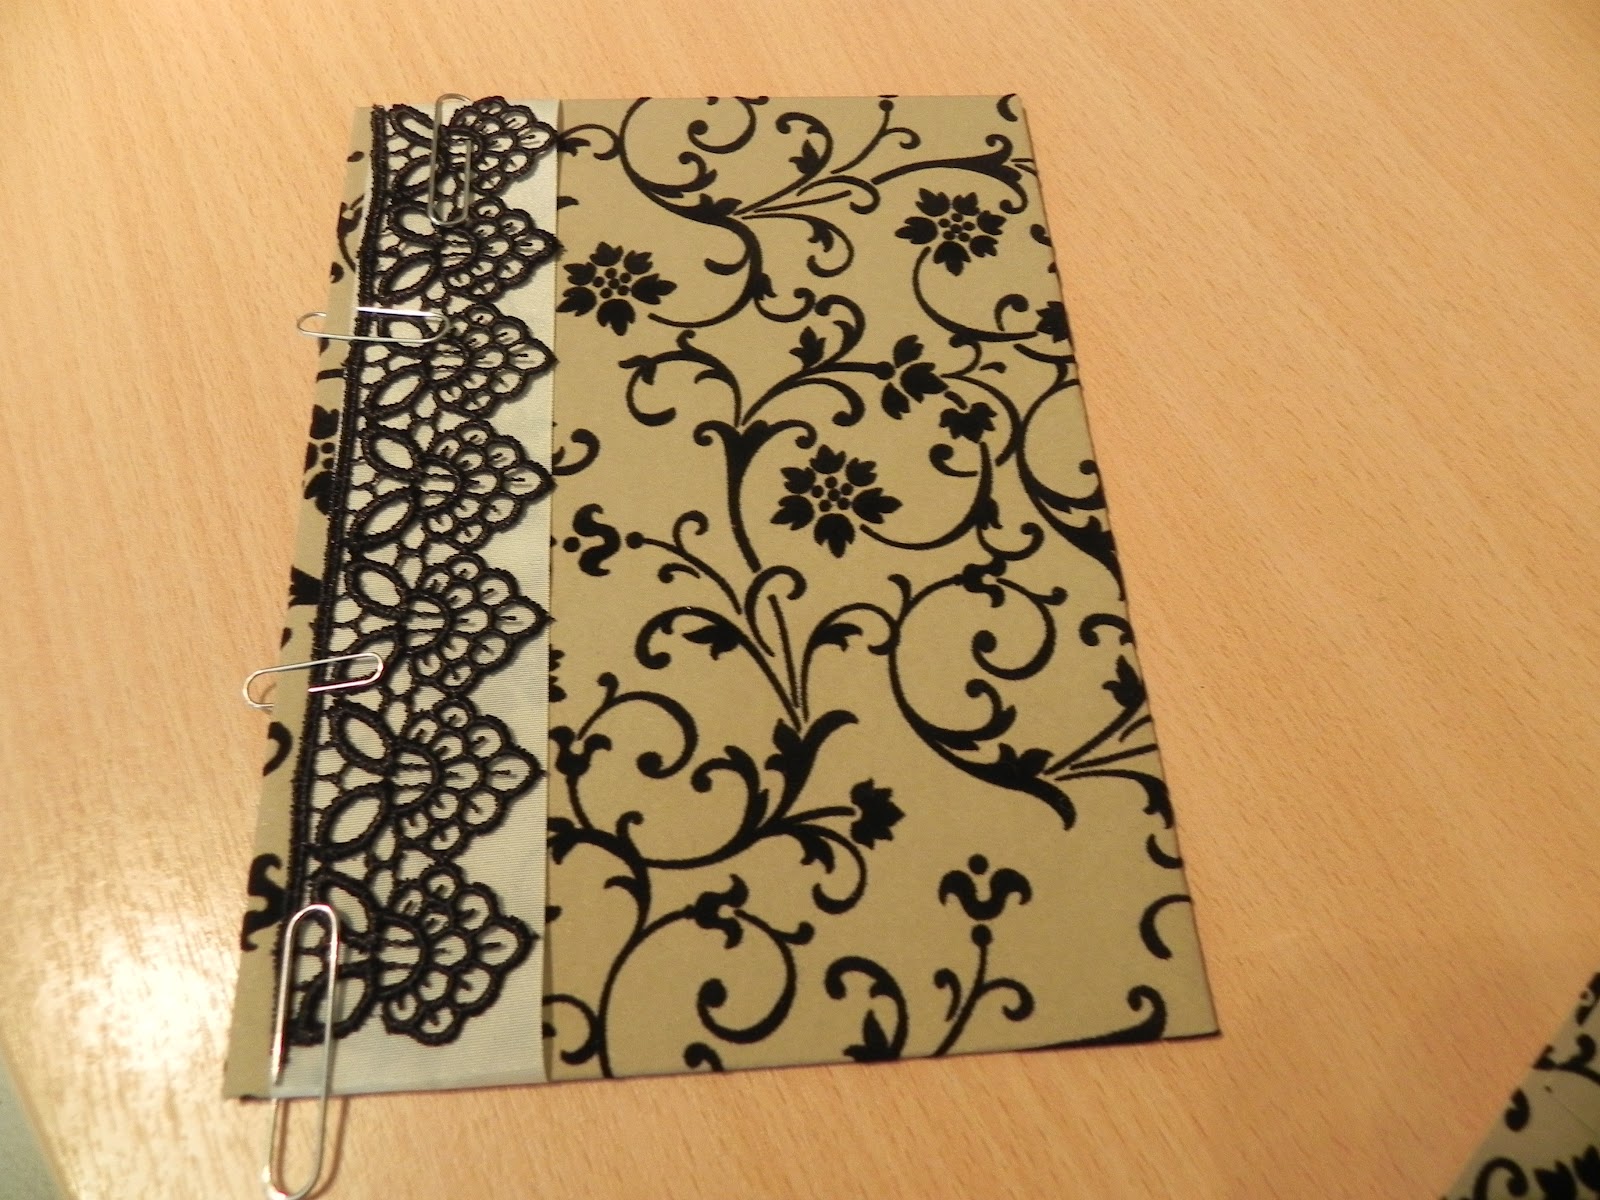 |
| Here is the front cover with it's trimmings held in place with paper clips whilst I checked the positioning of the spine cover. |
Next I added Tim Holts antiqued metal book corners to the front cover. Once the covers were done I set them aside to work on the signatures.
 |
| I really think these add a special finish.
To set up the three guide threads for binding the spine and to keep them taught throughout the stitching process I had to improvise, so I used one of my embroidery frames clamped to my desk with a couple of G clamps and strung the guide threads across the frame.

Rather a cumbersome contraption but actually it worked really well keeping the three guide threads taught whilst I stitched. I decided to use a designer paper for the first page of each signature so that it would give natural division to the signatures and act as dividers for sections of the notebook.

Here's a close up of the stitching: five holes with the stitching going around each of the three guide threads (hence the loops). You can just see my needle poking out of the fifth hole. The stitched signatures are the ridges resting in place on the padded bottom of the embroidery frame. The last signature is slightly at an angle across the top of the rest because it is still being stitched into place. The striped designer paper used for the first page of that signature is upright so that I can locate the holes on the inside of the signature as I stitch.
Once the signatures were stitched I added a little extra bonding to the stitched spine, with some red double-sided tape, before adding the black flocked sticky-backed plastic and securing the covers in place.

This is the inside of the notebook. I used the same striped designer paper of the first and last signatures for the inside of the cover and added a little accordion-sided pocket for notes etc.inside the front cover.
 |
And here is the finished notebook with a small box made at my SU class this week. I added a couple of small magnets as the closure on the box and now need to make a small black tassel to finish off the box front. What am I going to do with the notebook..... well, who knows. At this moment in time I'm just enjoying looking at it...lol.
I'd love to hear from you if you'd like to leave me a comment.
Hugs.
I'd love to hear from you if you'd like to leave me a comment.
Hugs.
Carol . xx
No comments:
Post a Comment