sorry for not posting for a wee while but I've been in the thick of it making wedding stationery to a tight deadline. After that I headed off to the sun for a well earned holiday.
As much as I always enjoy making wedding stationery I really missed 'playtime'. So to compensate I snook a few envelopes into my suitcase just in case I had time to doodle snail mail (envelope art) whilst I was away.... which of course I did. A girl can only have so much sun.
Now I'm back, and with post holiday chores out of the way, I had time today to finish of a project that I started before I got embroiled in the wedding stationery. It's a journal page with a tag. You'll see what I mean........
To give you an idea of how I put the page together and the products I used, here's a run through of the process:
The background layer was an old practice piece that had been squirrelled away after testing out a new stamp (scribbled circle from Las Vegastamps). I stamped on a previously used scarp of watercolor card using Ranger Distress Oxide Ink (peeled paint). I thought the practice piece would be perfect for what I had in mind and to add a little more interest to the background I decided to added a row of machine stitching around the edge. I later inked the edges and over the stitches using Ranger Distress Ink (peeled paint) and a blending tool.
The next layer is a tag and for this I used a Ranger size 8 manilla tag. I added large random circles using crackle paste through a handmade stencil and glued on the remnants from my hole punch with a little Ranger Matt Medium. When the glue and crackle paste were dry, the whole thing got a coat of Claudine Hellmuth Studio gesso (white).
Using Windsor & Newton water colour paint (sap green) I created some dripped from the top of the tag, spritzing with water to aid the flow..... I just love how the paint flowed around the smaller circles but enhanced the crazing in the larger circles as it forced it's way through the cracks and crevices in the dry crackle paste.
The gesso made the paint look almost chalky and muted the colour which wasn't what I wanted really. To help the smaller circles stand out I decided to paint them using the same sap green watercolour paint.
I cut a piece of vellum to the same size as the tag and machine stitched the two together. The misty look of the tag through the vellum was just what I wanted. An off cut of paper from my stash found it's way onto the bottom of the vellum, as did Ranger Remnant Rubs (numbers) in various places.....
Here.......
and here around and over a scrap of numeral ephemera ......
and also here on top of another off cut of paper .....
Another tiny piece of paper was glued with matt medium on the left hand side, then layered with a small square of acetate and finally with a tiny cog. I used Glossy Accents to secure all three layers.
A few more cogs were used here and there, again secured in place with Glossy Accents. I had intended to paint the cogs but as I was deciding where to put them I rather liked their natural silver, so left them unmolested.
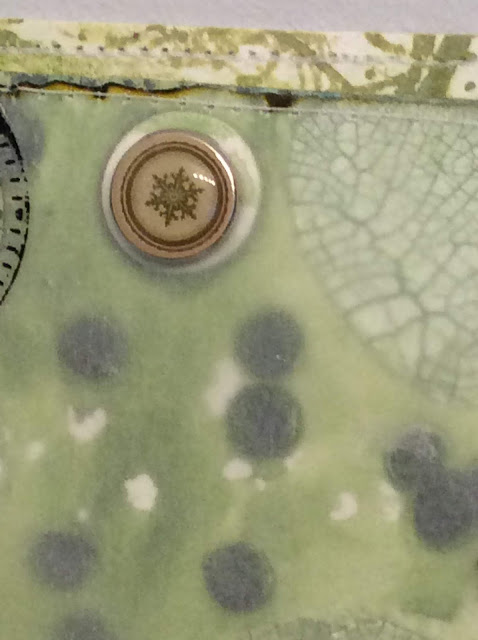
I secured a decorative brad from my stash through the hole at the top of the tag and used double sided tape to secure the tag to my background. The decorative brad has a thin silver band around the image so it ties in well with the au naturel cogs.
For once I didn't back my page with black card but I did add a tiny date tag and secured it to the top right hand corner with a mini brad.
I rather like how this page turned out. What I like most, apart from the colour (sap green Mmmmm!!) is that the texture is hinted at through the vellum.
Thank you for letting me share my page with you.
Happy crafting,
Carol, xx


No comments:
Post a Comment