I'm SOOOOO excited to share this journal page with you, not because of how it came out but because of how I made it.
I am a HUGE procrastinator and, as a result, a slow crafter. I ponder and deliberate on everything before leaping to the next stage of a project. That's why France Papillon's ALAD/ASAW Challenge is great for me. It gives me time to walk away between each layer and an opportunity to think about what I want to do next in the project..... It's a bit like going on holiday or Christmas, half the fun is the anticipation and planning.
Well, I set myself a challenge yesterday, to just sit down and play without any idea where my creative muse would take me. Easy enough you might be saying, but not for me. I never make a journal page or a tag without first having an idea of the layout in my head or an idea of the theme that I want to represent.
But yesterday I allowed my creativity to fly free and here's the journal page she rewarded me with:
I started off with a page taken from my Moleskine art journal which I trimmed down (you’ll see why below), then using a Stamping Up stamp set (lovely letters) and Archival Ink (black) I randomly stamped a few letters on the page.
Next I laid down some washi tape on the page. Unfortunately I’ve acquired various tapes over time and don’t know the names of them but I know a couple were Ranger Washi Tapes (Botanicals)
I followed up with more stamping using an AALL & CREATE stamp set (#39) again in black Archival ink.
I’ve had a Hampton Art stamp (2232 Queen Tag) since forever and rarely use it.... well today was the day to give it an airing. First, using a stamp positioned and masks I sectioned off each of the tag elements in the stamp and stamped them on the page with the same black Archival ink.
I also stamped the whole stamp another six times on a separate piece of watercolour card (140 gsm). I wanted to isolate various components in the stamp e.g the crown, butterfly, postage stamp, plant etc. so that I could layer them up to give extra dimension to three tags and the whole page.
After fussy cutting some of the components, all the edges were inked with a Faber Castell Pitt Artist Big Brush pen (black). Then some were coloured with Stamping Up Watercolour Wonder Crayons (brights set), some were embossed with Stampendous Embossing Powder (black) using Ranger Distress Embossing Ink, some were coated with Glossy Accents and some got various combinations of each.
Whilst the three tags were drying I added texture to the main page by embossing a couple of stamps from a Visible Image Stamp set (ink splatters) using the same black embossing powder as earlier ........
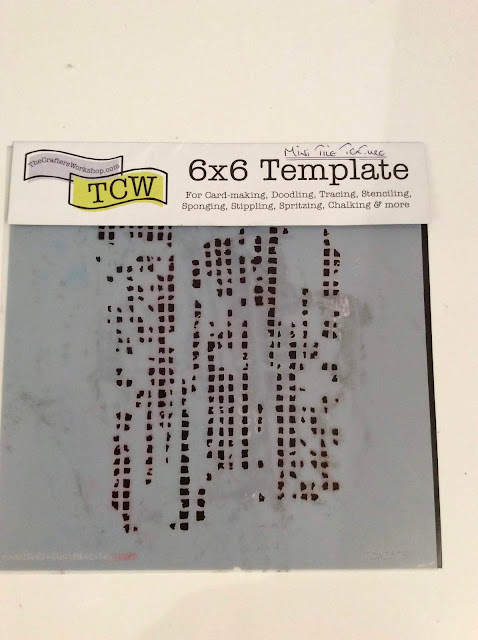
I also applied Sweet Poppy Texture Paste (pearlescent white) through a Crafters Workshop Stencil (mini tiles texture).
For colour I used the same SU watercolour crayons as before, choosing only the yellow and mustard coloured crayons from the set. To enhance the colour and texture further I randomly embossed with an embossing powder from the Stampendous Frantage Embossing Enamel Kit (aged gold- opaque) and a Versamark pen.
To lift the page still further and to accent one of two areas out came my Pebeo Mirror Effect Leaves (silver) which again was applied randomly, basically where ever the fancy took me.
I really was on a major roll by now so out came my Ranger Remnant Rubs (special delivery) and some tiny self-adhesive half pearls.... on they went together with some random scribbles in black.
To secure the three tags in place I used tiny coloured brads from my stash and for extra measure little double sided tape to the back of each. A mini gold heart brad was also added to one of the tags too.
 |
| These are the made up tags before they were fixed to the journal page. |
Flipping through my book of Ranger Small Talk Stickers “Creativity Takes Courage” jumped out at me. So, firstly edging the sticker with a Faber Castell Pitt Artist Big Brush pen (black) to hide the white edge, I gave it a little help to adhere to the page by adding a dab of Ranger Matt Medium glue.
Because I trimmed down the size of the page that I took from my Moleskine art journal before I started, I could now back it with black card. This acts as both a frame to the page and also hides any bleed through to the back. As usual my tiny date tag was added before I finally called it a day.
Here are a couple more pictures.....
 |
| Bottom LHS corner of the page. |
 |
| Top RHS corner |
 |
| Trying to show the dimension on this tag. |
 |
| Here are the two mini tags in place. |
 |
| Again trying to show the dimension on these tags |
 |
| And finally the bottom of the page. |
I am chuffed as little mint balls at how this page turned out. I’m really delighted with the colour and texture on the page and, if it’s at all possible, I enjoyed the crafting process even more than I usually do. The page may not be everybody’s cup of tea but it's mine. Will I try this process again?
CERTAINLY WILL. I loved it.
Have a wonderful, wonderful day everyone. Thanks so much for stopping by.
Happy crafting,
Carol, xx


No comments:
Post a Comment