I received news yesterday that an arty friend of mine isn't well and decided to send her some good vibes along with a wee bit of art. Hopefully it will motivate her to play when she is feeling able.
As usual, as I was creating, I ran a double alongside as a test piece. Here is that test piece which will now go into my art journal ......

To start off my process I cut a piece of 300gsm watercolour card. Then using a mix of Titanium white fluid acrylic and PaperArtsy Fresco Finish Fluid acrylic paint (Spanish Mulberry) on a piece of acetate I transferred the colour onto my water spritzed card, helping it flow and run across the card by spritzing with more water as necessary. I wanted a very soft, feminine background for this project.
 |
| Here you can see my project piece and also my test piece. |
Using Ranger Texture paste (Opaque Crackle) and a pallet knife I smeared three lines down the page and set it aside to dry. When dry, I added more of the mulberry fluid acrylic paint, mixed with a little water to form a light wash, and worked it into the cracks and crevices formed in the now dry texture paste with a paint brush.

To define the three lines of texture paste I outlined each with a charcoal pencil and gently blended it out using a stubby and my finger.

The heart focal point was hand drawn onto 300gsm watercolour card stock and coloured using the same fluid acrylics. I built up the intensity of colour, drying between each layer as I went, and finally edged the heart with a Faber Castell Pitt Artist big brush pen (cold grey iv 233). Not able to leave crackles alone, I coated the heart with Ranger Distress Crackle paint (rock candy) and set it aside to do it's magic.

Ok, I'll own up... that is what should have happened BUT I got impatient, couldn't wait and set too with the heat gun. It began to bubble whilst I was looking away at the antics of my cat and consequently it got assigned to my journal page rather than the card for my friend.... And that is one example of why I run a test project along side as I'm creating!

In the meantime, I stitched around the outside with the aid of my trusty sewing machine in plain ol'white cotton thread. I like to secure threads on the reverse with a dab of Glossy Accents to hold them in place once they've been tied them off.
I snipped and manipulated lace from my stash to fit my piece and secured it in place with double sided adhesive tape and a touch of Golden Gel Medium (heavy gel matte) for good measure. I did the same again with the heart to hold that in place on the lace.
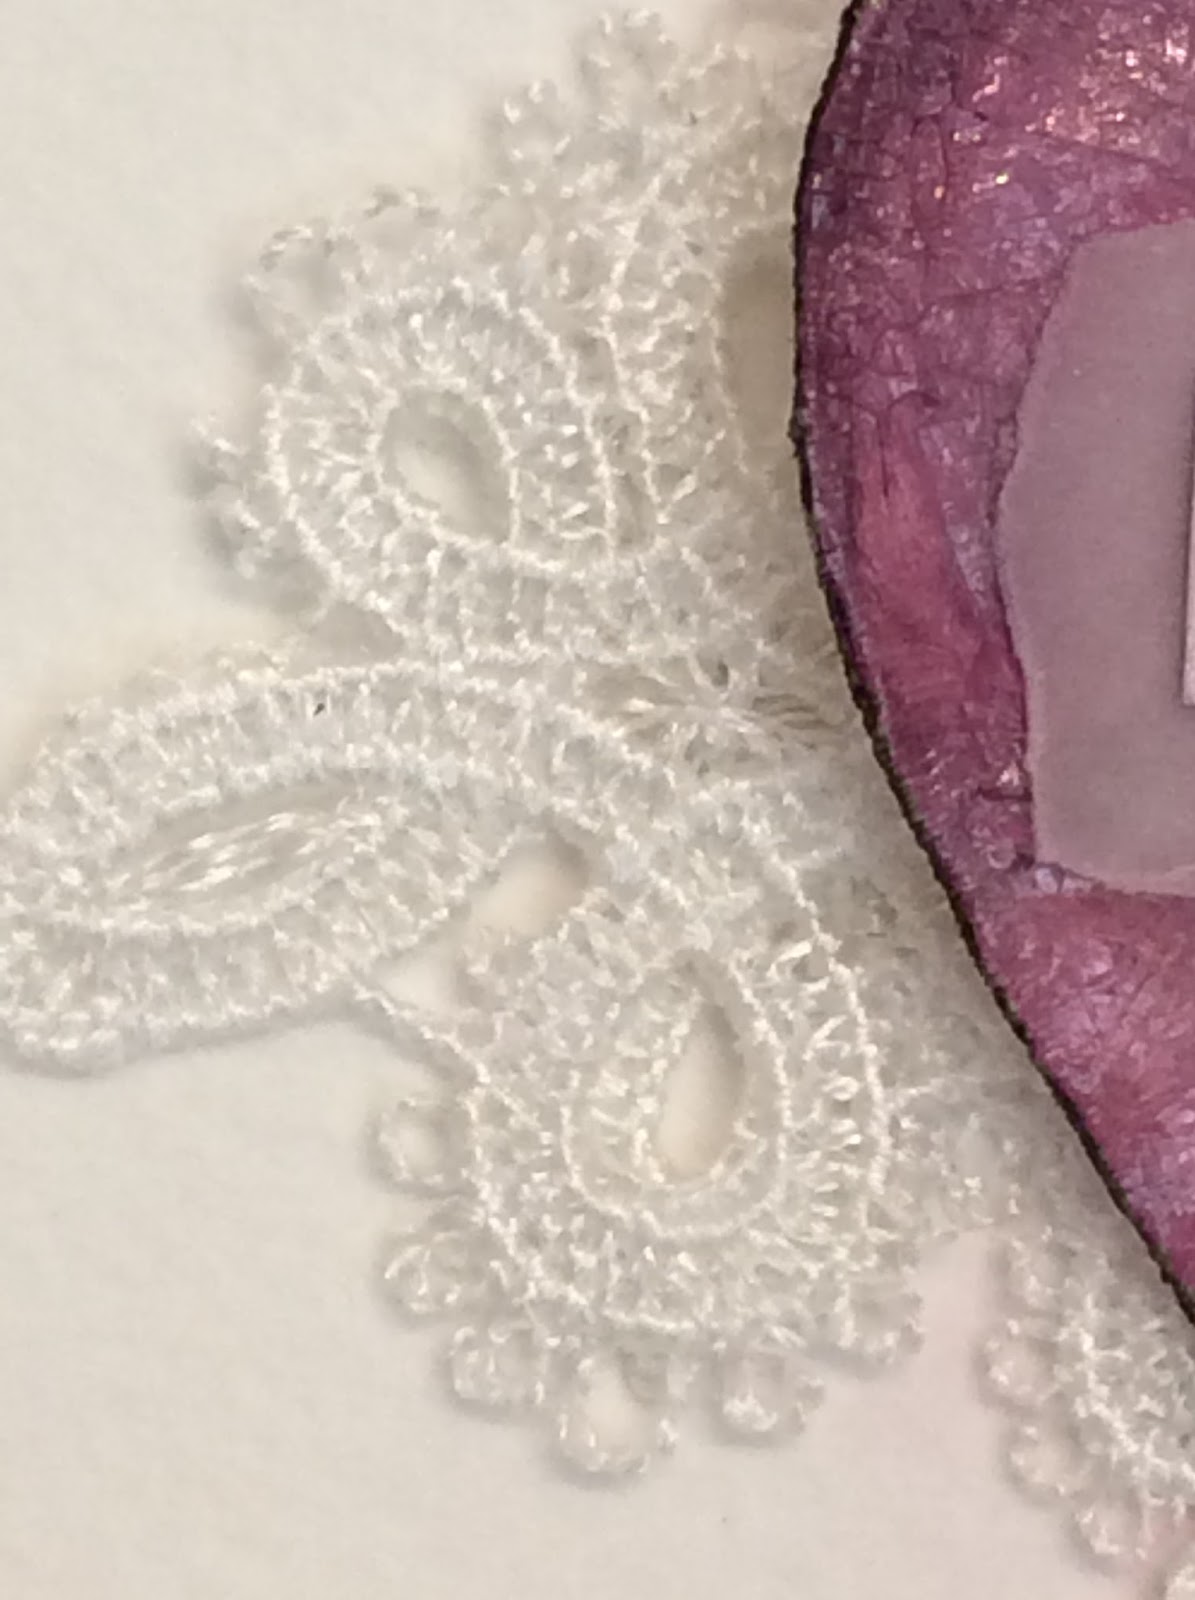 |
| The gorgeous lace was a gift from Santa last Christmas... thank you Santa |
The sentiment on the heart was computer generated and snipped to size to fit. Before it was glued into place, I edged it with Distress Inks (spun sugar, milled lavender) and then mounted it onto a torn piece of vellum which had been similarly inked around the edges. For dimension I used a couple of foam dimensional pads and Glossy Accents for good measure.
Finally, and as my usual want, I backed my page with black card stock and added a tiny date tag.
A couple more pictures....


And here is the one I made for my friend.... very similar but just the one line of texture paste and a double layer of lace whereas my journal page has three lines and a single layer of lace.

That's my lot for today. Hope you liked it and thanks so much for stopping by.
Happy crafting
Carol. xx
No comments:
Post a Comment